Thursday, 25 April 2013

Recommendation | L'occitane Mango Flower Lip Balm

I just thought I would do a quick post on my favourite lip product of the moment, L'occitane's Limited Edition Mango Flower Lip Balm! I didn't know if I would like this lip balm, because I am not a fan of 'mango' flavoured products. But this lip balm is almost an orange flavour, which I love! L'occitane's website describes it as a "tangy mango" flavour, but I would say "tangy mango" with a hint of orange! It is so smooth on the lips and leaves them feeling nourished. I cant recommend this lip balm enough, I don't think I've used anything else since I purchased it! If you have the chance to purchase it I definitely would recommend it!
 I really want to try some other L'occitane lip products now, if anyone has any suggestions leave them as a comment below! 
-Darcie 


Sunday, 21 April 2013

A Peak Into My Makeup Bag


A little peak inside my daily makeup bag. Long time faves denoted with an '*' (pretty much everything, hence why its in there!)
If you would like to see a review on anything, let me know.
Brooke x


Makeup bag: Vogue au freebie (perfect size!)

TOOLS
Heart Mirror: Witchery (was on sale for 3 bucks!)
Eyelash Curler: Manicare
Brushes: Real Techniques (buffing and contour) *

FACE
Moisturiser: Avene
Foundation: Bourjois Healthy Mix *
Concealer Palette: MUFE *
Powders: Rimmel Stay Matte *(great for setting) & MAC MSF natural * medium dark (currently a tad too dark but using as contour/light bronzer and love it!) (my thought on MAC MSF natural here)
Blush: Rimmel Berry *

EYES
Clear Mascara/Brow gel: Nutrimetics *
Mascara: Maybelline Full n Soft & The Falsies (review here) *
Eye Liners: MUFE * and Rimmel *

LIPS
Lip Butter: Korres Jasmine * (review here)
Lipgloss: Clarins 03 * (review here)
Lip Stain: Revlon sweetheart/valentine
Lip Balm: Nivea

Monday, 8 April 2013

Eyelash tinting ~ My experience

A few weeks ago I decided that I really wanted to get my eyelashes tinted, after thinking of getting it done for a long time. I booked an appointment for earlier this week and in today's post I'm going to be sharing my experience! I brought Brooke along with me and she watched me have my eyelashes tinted, she will be adding an observation in this post.

 The main reason why I wanted my eyelashes tinted was so they would be darker without having to wear mascara, making it easier on days where I don't wear a lot of makeup but still want my lashes to be defined and visible (so I look awake in early morning classes). 

The whole process lasted about 10-15 minutes, in which time you can not open your eyes. I was warned that I might experience a little stinging, but I didn't experience any pain what so ever. My eyes just felt wet, I may have even had a little nap! Their is a range of colours/darkness's available for you to pick from, the lady doing my lashes recommend I get the darkest colour they offered, which I did.  I was really happy with the result! My lashes look darker, but not unnatural, just what I was looking for. 

Brookes observation: 
So as Darcie mentioned, I came along to check out the whole process. As I was watching, I was able to take note of how it was done! So first of all the beauty therapist asked Darcie to keep her eyes closed! She then applied Vaseline to prevent the dye from staining Darcies skin. She applied the dye  generously with a small spatula and distributed evenly with a cotton bud  (q-tip). She then added a cotton square over each eye and let the dye develop. After about 10 mins she removed the cotton and spread the dye again left it for a couple of mins without the cotton then flushed everything with water. Finally she wiped away the excess and its was all done! You can definitely tell the difference in Darcies lashes, they looked defined, even fuller and longer, as the clear ends of her lashes are now visible! If you have lighter lashes I highly recommend checking out eyelash tinting.


Right Eye - Before and After

Left Eye - Before and After

Love Darcie

Thursday, 21 March 2013

Maybelline The Falsies & Full 'N Soft: The review

My lashes need all the help they can get so I love trying out new mascaras. I remember seeing 'Full 'n Soft' on Laura's blog (buy now blog later) ageeeees ago and really wanted to try it for a more natural look. More specifically the beach, because my eyes look so undefined without a little mascara but didn't want to look like I was wearing makeup.  'The Falsies' had been getting a pretty good wrap over the past few months so I picked that one up to. I purchases these quite a while ago so have had plenty of time to test them out. Both mascaras have brush/bristle wands, not plastic as I'm not really a fan.

Lets start with Full 'n Soft. I have the waterproof version as I wanted to wear it to the beach. It does stay on well and doesn't smudge as easily but I wouldn't say its waterproof skills are life changing. The wand is pretty standard and simple - no fuss and fiddling. This mascara is amazing. It does exactly what it claims to. You get softer, fuller, natural looking, clump free lashes. Perfect for casual days or times when you want to go for the natural look. love it.

The Falsies is the total opposite of Full 'n Soft. Lashes are longer and more voluminous. I have short, straight lashes and this is the best mascara I have ever used for dramatic lashes. The curved wand really scoops and helps to flare the lashes. I truly love this mascara. It can get a little clumpy if your note careful but its totally workable.

The one thing I've always had trouble with is finding a mascara that holds a curl. My lashes are very straight and quite short. I ALWAYS use an eyelash curler and my lashes curl but after an hour or so they've dropped. Neither of these have been able to hold a curl amazingly (but I think thats my lashes) so I'm still on the hunt. 

I will definitely be repurchasing both of these mascaras nonetheless!

B x  


Tuesday, 19 March 2013

Rimmel Metal Rush - Royal Blue: The Review

The other day I was in Target for some weekend wandering and of course magically ended up in the beauty section. I went to the Rimmel stand after seeing they *finally* have brought out the Kate Moss matte finish lipsticks in the red tube. I restrained myself from picking up 107 (which I have been wanting) as something else caught my eye. A little stand of nail polishes (literally like 4 bottles) were randomly sitting there. I saw Royal Blue and it immediately reminded me of Butter London's Knackered, which is a shade I had wanted until Darcie picked it up and found the formula to be a bit naff (post here).I thought I might as well give it a go as it looked amazing and was fairly cheap (12 bucks I think).

I tried it as soon as  I got home and the first coat was quite sheer. I wasn't worried *yet* because another duo chrome type polish I have (Butter London Thames) starts sheer but is fine with 2-3 coats, although this polish has a thicker consistency that Thames. The one thing that stood out to me was the brush. Its quite short and wide with a rounded tip. I love the way the brush coats the nail so easily. So I went on with the second coat and it was pretty much opaque and looked awesome. I did notice a few patchy bits so decided to do a third coat to be safe. I noticed it became a bit bubbly in some parts as it dried, but I think that was because I didn't let the second coat dry fully before applying the third. It is crucial with this polish that you let every single coat dry completely before going on with the next. Other than that miner set back I really love this polish! Its unique and pretty and it really is duo chrome. It can look totally purple or green, with hints of blue and silver. It really is similar to Knackered, the main difference is that it doesn't contain the holographic glitter.The photos honestly don't do it justice. Definitely want to check out other shades in the collection.

B x


Friday, 15 March 2013

OPI OZ Collection - The Haul

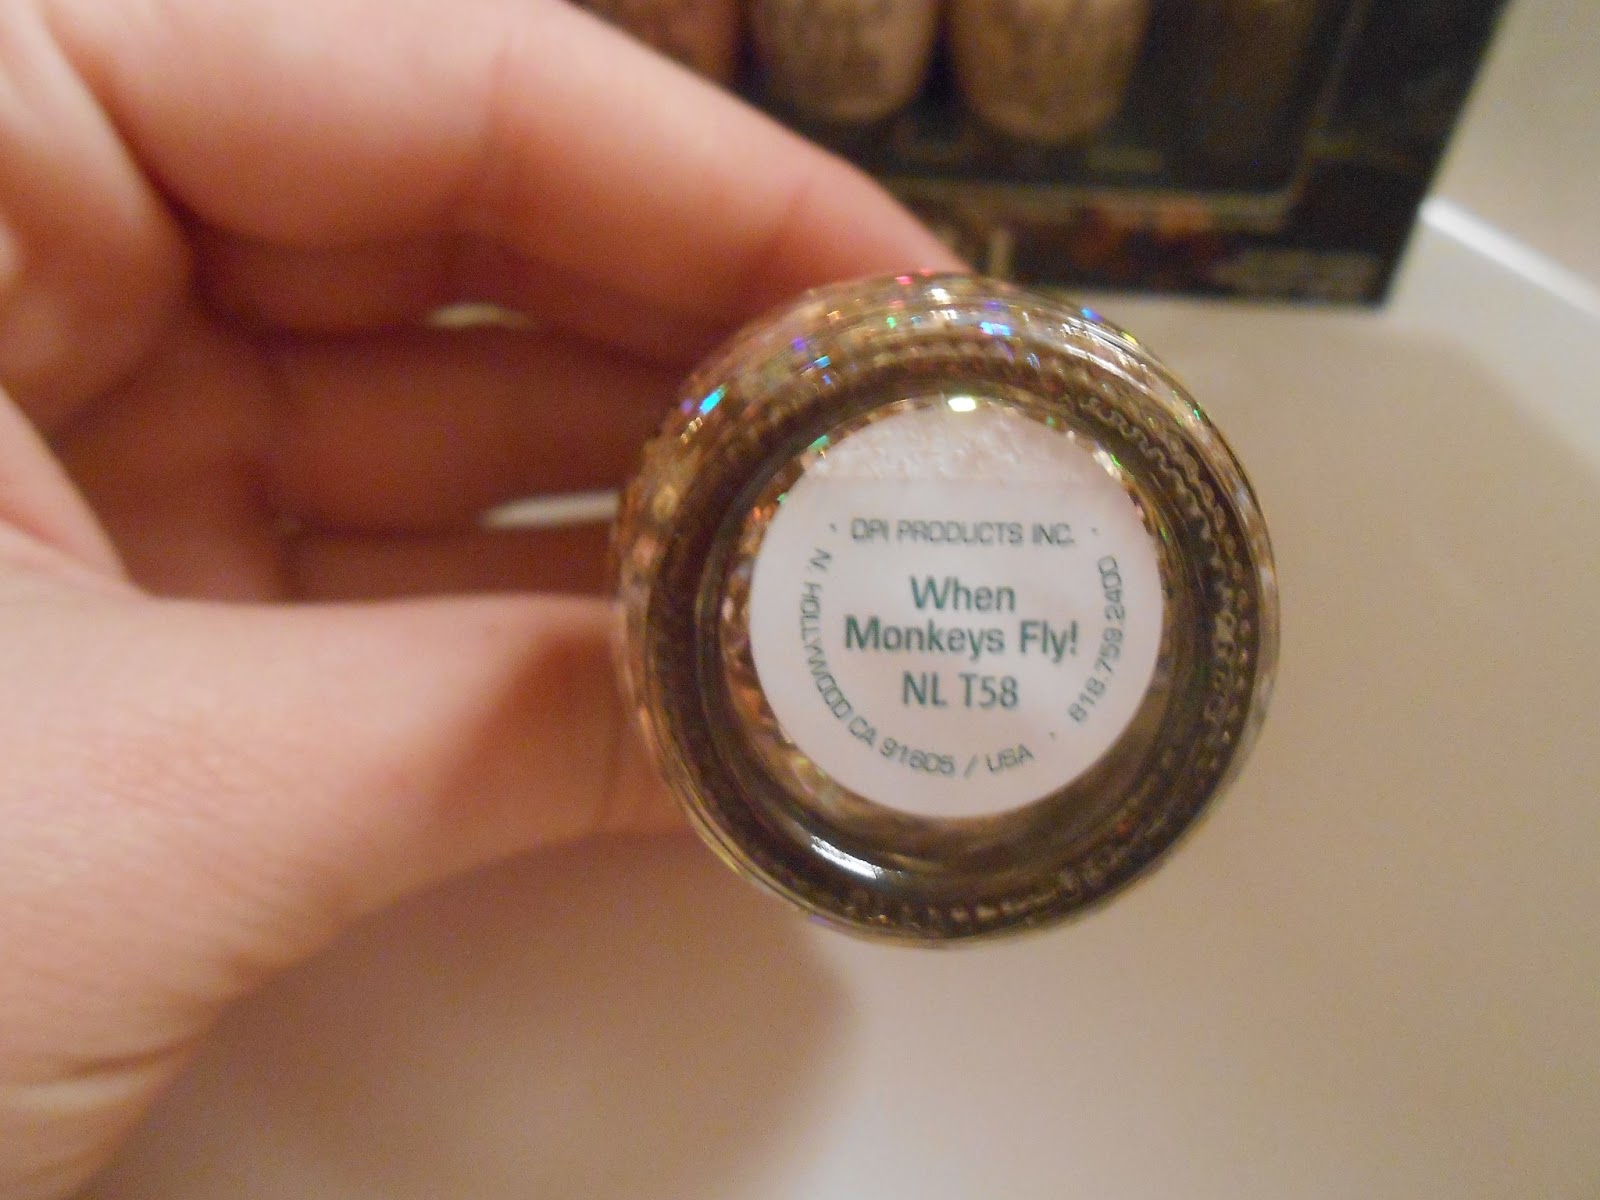
Just a quick OPI Haul post today! As a nail polish addict, I just had to pick up some of the polishes from the new OZ the great and powerful collection from OPI! These Polishes are gorgeous, I especially love 'Which is Witch' and 'I Theodora you'. I picked up these polishes from Myer at The Bourke Street Mall in Melbourne. Their new OPI display is AMAZING! Hope you enjoy this quick post and expect reviews on some of these polishes soon! 


Left to Right, Which is Witch, When Monkeys Fly, Lights of Emerald City. 

Left to Right, Which is Witch, When Monkeys Fly, Lights of Emerald City.


Left to Right, I Theodora You, Don't burst my bubble, Glints of Glinda, What Wizardry is this?.


Darcie x

Saturday, 23 February 2013

Smiths Rosebud Salve: The review

Today I will be doing a quick blog post on one of  my favourite recent finds, Smiths Rosebud Salve. I was under the impression that nothing could beat my mac tendertones when it comes to lip balms, but I think the Rosebud Salve may be just as good! Or even better!! I bought my Smiths Rosebud Salve off adorebeauty.com for $12.95 AUD. I was so excited to try this, as I have heard so many great things about it and I am glad to say I wasn't disappointed! As soon as I applied the Rosebud Salve to my lips they become soft and any dryness I had before, was almost immediately gone. The Smiths Rosebud Salve contains petroleum jelly, like traditional Vaseline, although I found the Rosebud salve to be not as thick as Vaseline, which is a good thing as I don't like the feel of traditional Vaseline on my lips. The consistency of the Rosebud Salve is 'Jelly' like and it is an extremely sheer pink colour, which on the lips looks really natural. I love the scent of the Rosebud Salve, it smells like roses but is not overwhelming.  I have to say I am really addicted to this stuff! I don't think I have used another lip balm since I bought it! I cant recommend it enough  if you have the opportunity to pick this up, do it, you wont be disappointed!! 
Pictures Below


xo DARCIE